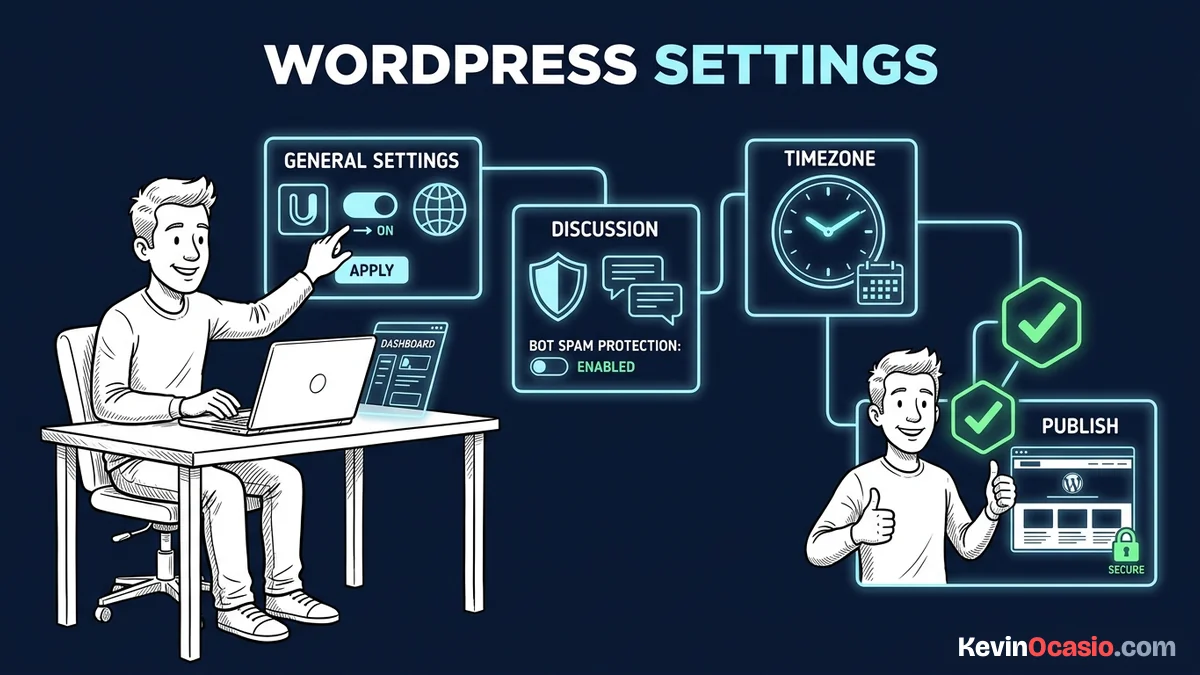
When you finish a fresh WordPress setup, the software hands you a blank dashboard. It’s packed with old default settings from twenty years ago. Leaving those factory switches alone invites spam bots, creates messy links, and makes your site look like an abandoned test project.
The Short Version
- Update your core defaults before publishing content so your site avoids messy links, broken post schedules, and amateur placeholder text.
- Turn off open registrations and pingbacks right away to stop spam bots from filling your database with junk records.
- Switch to clean permalinks and confirm search engine visibility so Google can index your pages without hitting duplicate links.
Jump to Section
- 1. Delete the Default Tagline and Set Your Site Title
- 2. Switch Permalinks to the Clean Post Name Structure
- 3. Set Your Exact Local Timezone and Date Format
- 4. Turn Off Pingbacks and Trackbacks
- 5. Disable Open User Registration
- 6. Require Manual Approval for Comments
- 7. Purge Default Sample Posts and Pages
- 8. Verify Search Engine Visibility Is Turned On
- 9. Choose Your Homepage Display Format
- 10. Organize Media Uploads into Clean Folder Structures
- How the First Settings to Change After Installing WordPress Protect Your Site
- Lock Down Your Dashboard Before Publishing Your First Post
- Frequently Asked Questions About WordPress Settings
1. Delete the Default Tagline and Set Your Site Title
WordPress installs with a starter tagline that reads “Just another WordPress site” right under your site name. If you leave that line in place, search engines show it to the world. Social media shares display it, and your browser tabs show it to every visitor who clicks your links. It looks amateur, and that’s one of the classic new blogger mistakes that kills trust before anyone reads your first post.
Head to the Settings menu on the left side of your dashboard and click General. Type your real business name into the Site Title box. Write a clear five-word tagline explaining what you do, or leave it blank if you don’t need one. Click Save Changes at the bottom of the page to lock in your clean title.
2. Switch Permalinks to the Clean Post Name Structure
The stock web address setup on many web hosts formats your pages with plain numbers or calendar dates. That turns your content into ugly links like /?p=123. Ugly links strip useful words from your web address. They’ll also force you to fix broken links down the road as you build your online business with WordPress.
Click on Settings in your sidebar and choose Permalinks. Under the Common Settings list, click the radio button next to Post name. That’s what sets your URL structure to /%postname%/. Click Save Changes at the bottom of the screen so every new post gets a clean web link based on your title.
3. Set Your Exact Local Timezone and Date Format
Fresh WordPress sites default to world standard time, which rarely matches where you actually live. Say you schedule a post to go live at eight in the morning. If your timezone is wrong, your post won’t go live when you want it to. Mismatched clocks also mess up your comment logs and backup times.
Go to Settings and open the General screen again. Scroll down to the Timezone dropdown and pick your actual city or closest major metro area from the list. That’ll keep your daylight saving time shifts on track on their own. Pick your preferred date format below that menu, and click Save Changes.
4. Turn Off Pingbacks and Trackbacks
Pingbacks were made years ago to notify blogs when another website linked to their posts. Nobody uses them today. Spam networks exploit the old ping tool to flood web servers with fake traffic. It’s an old tool that fills your inbox with junk pings and burns through your server power.
Head over to Settings and choose Discussion from the menu. Uncheck the box that says “Attempt to notify any blogs linked to from the post.” Next, uncheck the box for link alerts from other blogs on new posts near the top of the screen. Scroll down to the bottom and click Save Changes so your site won’t keep listening for old ping calls.
5. Disable Open User Registration
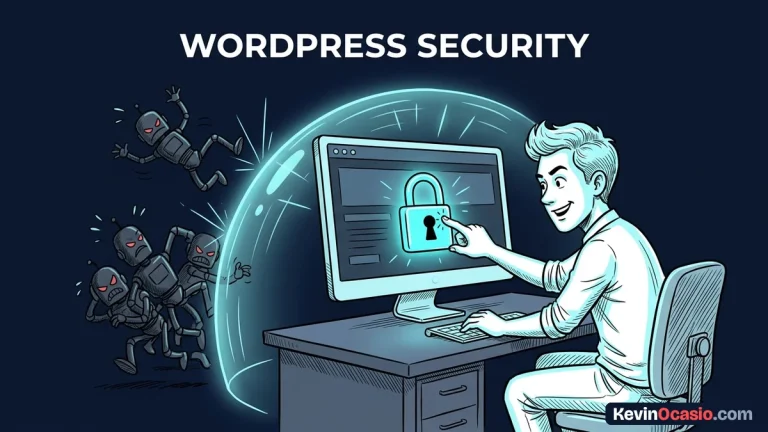
Unless you run a paid membership club or a private forum, there’s no reason for anyone else to have an account on your site. When open signup stays active, automated bots scan your login page and register thousands of fake accounts. That database junk slows down your search queries and gives bad bots a chance to probe your site dashboard.
Open Settings and click General. Make sure the box for “Anyone can register” isn’t checked. Set the New User Default Role below it to Subscriber so nobody gets admin power by mistake. Click Save Changes to lock the door.
6. Require Manual Approval for Comments
Spam bots crawl the web looking for open forms where they can drop links to scam storefronts and phishing sites. If your settings allow comments to post on their own, you’ll wake up to articles full of shady links. Those links hurt your search rank and scare real visitors away. Holding new comments for review stops link drops cold while keeping your site clean.
Click on Settings and go to Discussion. Scroll down to the area labeled “Before a comment appears.” Check the box next to “Comment must be manually approved.” While you’re there, check “Comment author must fill out name and email.” Scroll down to the bottom and click Save Changes so every reply waits for your approval.
7. Purge Default Sample Posts and Pages
Every new install drops a dummy post titled “Hello World!” and a blank “Sample Page” into your site. If you leave these placeholder pages on your site, search crawlers index them. That leads to duplicate content warnings and embarrassing search results for your brand name. It’s embarrassing when visitors land on dummy text, so tossing this starter junk keeps your sitemaps clean.
Click Posts in your sidebar, hover your mouse over that starter post, and hit Trash to remove it. Next, open Pages, hover over “Sample Page”, and hit Trash to remove it as well. Don’t forget to empty your trash bins on both screens so those dead links leave your site for good.
8. Verify Search Engine Visibility Is Turned On
During early site setup, many web hosts turn on a switch that tells search crawlers to stay away. If you forget to turn that switch off after launching, your articles won’t show up on Google search results. A host like Hostinger gives you fast server speed. But that speed means nothing if your site tells Google not to index your pages.
Head to Settings and click on the Reading tab. Scroll down to the Search Engine Visibility section near the bottom of the page. Find the checkbox labeled “Discourage search engines from indexing this site.” Make sure this box isn’t checked, then click Save Changes so search crawlers can index your work.
9. Choose Your Homepage Display Format
WordPress defaults to showing your newest blog posts in a long list on your front door. A plain list of recent posts creates unnecessary cognitive load for first-time visitors. It’s confusing for new visitors when they can’t tell what you sell or how you can help them. Setting a focused front page helps you point readers to your top guides and free downloads right away.
Click Settings and open Reading. At the top under “Your homepage displays,” click the radio button for “A static page.” Assign your custom front page to the Homepage dropdown, and set your blog feed to the Posts page. If you’d rather run a plain blog, you can stick with “Your latest posts.” Just set the count to ten posts so your pages load fast.
10. Organize Media Uploads into Clean Folder Structures
Whenever you add images to your media library, WordPress sorts them into month and year folders on your web server. Leaving this filing system on stops thousands of image files from piling into one single folder. That’s important because crowded folders slow down your server and turn backups into a pain. It’ll also keep your image paths clean as your site grows over time.
Go to Settings and select Media from the list. Scroll down to the Uploading Files section at the bottom of the page. Check the box for “Organize my uploads into month- and year-based folders.” Check your thumbnail sizes on this page to match your theme, then click Save Changes so you won’t have to deal with image clutter later.
How the First Settings to Change After Installing WordPress Protect Your Site
Taking ten minutes to adjust these initial options gives you a clean starting point. It’s the easiest way to protect your time, your server speed, and your search rank. Skipping these switches leaves your site open to bots. It fills your database with junk and breaks your search links.
Here’s how leaving default settings compares to locking down an optimized WordPress dashboard:
| WordPress Dashboard Setting | Default Installation State | Recommended Live State | Direct Business Impact |
|---|---|---|---|
| Site Title and Tagline | Just another WordPress site | Custom Brand and Mission | Removes amateur search snippets and brand confusion |
| Permalink Structure | Plain IDs or Date archives | Clean Post Name | Boosts keyword clarity and creates evergreen shareable links |
| Local Timezone | UTC+0 Coordinated Time | Exact Local City Time | Keeps post scheduling and backup logs on time |
| Pingbacks and Trackbacks | Enabled open listeners | Disabled completely | Blocks botnet traffic and stops notification spam |
| User Registration | Open to any public visitor | Disabled (Admin only) | Prevents fake bot accounts from filling database tables with junk |
| Comment Moderation | Instant public posting | Manual approval required | Stops spam links from harming search engine trust |
| Search Engine Visibility | Discouraged (Noindex tag) | Open for web indexing | Allows Google and Bing to find and rank your articles |
| Homepage Display | Latest blog posts list | Focused static front page | Guides visitors straight to top offers and email signups |
You protect your online business by cutting out technical drag before it starts. That’s how you keep your host running smooth and your database lean so you can focus on your posts. Setting up these options right from day one gives you a clean foundation to get your site online.
Lock Down Your Dashboard Before Publishing Your First Post
Don’t wait until you have fifty published posts to fix your WordPress settings. Changing your link structure after search engines index your pages creates broken links. It’ll hurt your traffic and force you to set up messy page redirects.
Log into your admin area right now and work through these ten settings one by one. Checking off this quick list protects your visitors. Once you’re done, your dashboard is ready to support your publishing schedule and grow your site for the long haul.
Frequently Asked Questions About WordPress Settings
Can I change my permalink structure after publishing articles?
You can change it later, but doing so breaks your live links across the web. You’ll have to set up 301 redirects so visitors don’t hit dead 404 error pages.
Why is my scheduled post missing its publish time?
Your site timezone is likely still set to UTC instead of your city. If your site clock’s off, scheduled posts won’t go live when you want them to.
Do I need a security plugin if I change these core settings?
Turning off open signups and pingbacks blocks the two biggest bot entry points. A simple login tool helps, but it’s these basic settings that do the heavy lifting.
What happens if I leave search engine discouragement turned on?
WordPress adds a noindex tag that tells search engines to ignore your entire website. Your articles won’t show up on Google until you uncheck that box.
Why are spam bots registering on my site if I have no signup form?
Bots send direct requests straight to your wp-login link. If signup’s open, your server creates the account even if there’s no visible form on your page.
Should I use a static homepage or my latest posts?
If you run a business or need email leads, you’ll want a static front page. A plain list of posts doesn’t work well unless you run a daily news journal.
Does turning off pingbacks hurt my search rankings?
Turning off pingbacks doesn’t hurt your search rank at all. Google finds your links on its own, so you’re just saving server power by shutting it down.